Essential cactus gardening tools include pliers for handling, pruning saws, and soil knives. While selecting tools, opt for those designed specifically for cacti to ensure safety and precision.
Gardening enthusiasts know that cactus care requires a unique set of tools. These specialized instruments cater to the distinct needs of cacti, allowing for careful handling, efficient transplanting, and precise pruning. Durable materials like stainless steel ensure longevity and effectiveness when working with these hardy plants.
The right cactus gardening tools can transform the challenging task of maintaining a succulent garden into an enjoyable and fruitful endeavor. Whether you’re a seasoned green thumb or new to the world of cacti, investing in the right equipment is key to cultivating a vibrant and healthy cactus collection. With the appropriate tools, gardeners can create a thriving indoor or outdoor cactus landscape that stands out for its resilience and beauty.
Table of Contents

Credit: www.finegardening.com
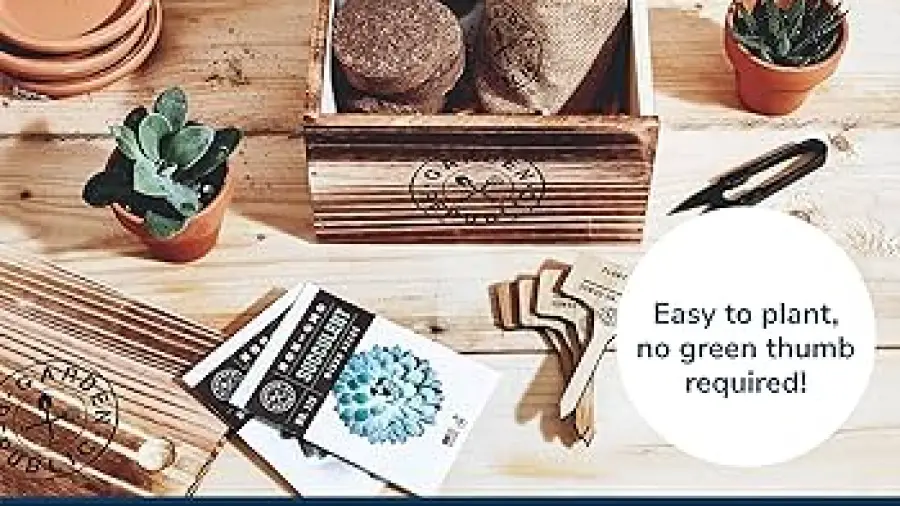
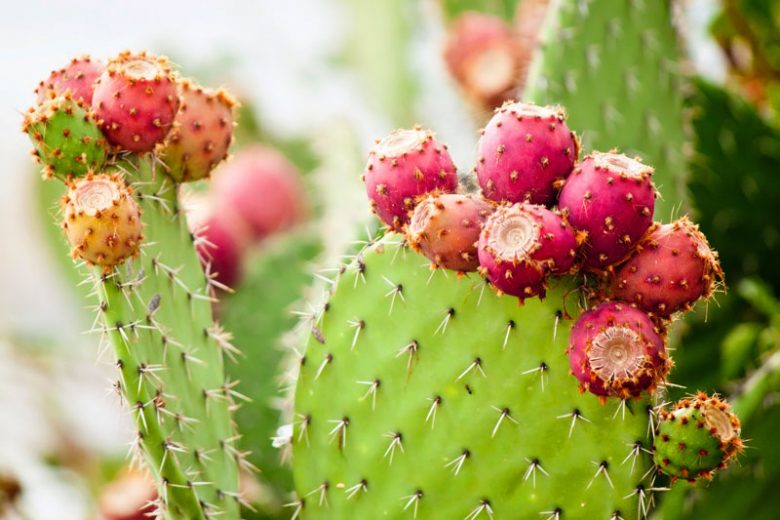
The Art Of Desert Botany
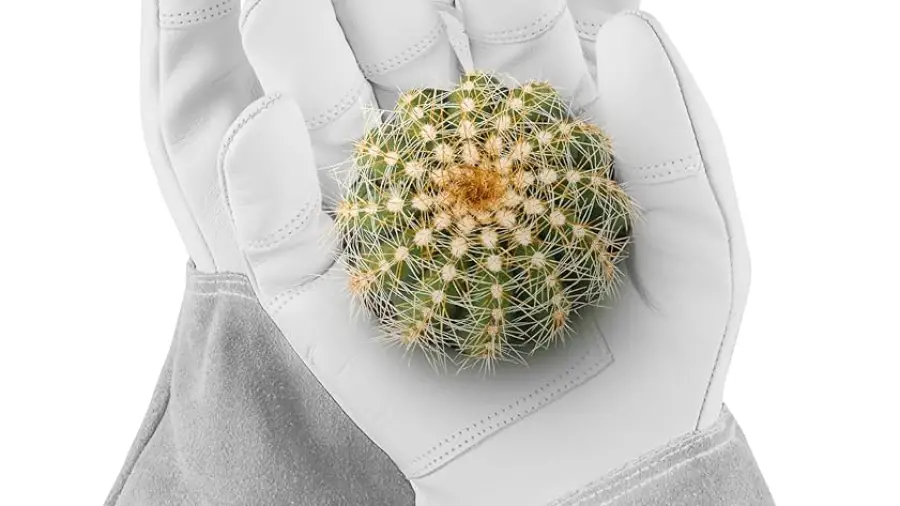
Caring for cacti requires specific tools to ensure safety and plant health. A proper cactus gardening toolkit includes gloves, tongs, and a watering can with a fine nozzle. Gloves protect hands from spines, while tongs are great for handling cacti safely. Use a watering can to control the amount of water delivered to your cacti, as overwatering can lead to root rot.
Soil mix and a scoop are essential for nutritious substrates and mess-free transplanting. For planting, select a shovel or trowel specifically designed for cacti and succulents. They are typically narrower, allowing gardeners to work within tight spaces without harming the plants.
- Pruning tools, such as scissors or shears, keep cacti in shape.
- Brushes and blowers are useful for gently removing debris from delicate cactus surfaces.
Prepping Your Soil
Perfect soil mixture is key to healthy cactus growth. Use a special cactus blend or create your own mix. Blend equal parts of sand, pumice, and potting soil. This ensures proper drainage and aeration, vital for cactus roots.
Select containers with drainage holes at the bottom. This prevents waterlogging which can harm the cactus. For extra drainage, add a layer of gravel before adding the soil mix.
| Component | Purpose | Ratio |
|---|---|---|
| Sand | Improves Drainage | 1/3 |
| Pumice | Aerates Soil | 1/3 |
| Potting Soil | Nutrient Base | 1/3 |
Selecting Your Toolkit
Every cacti enthusiast needs a basic set of tools to start a garden. Durable gloves protect from thorns. Long tweezers handle small cacti and
remove debris. Small shovels and rakes are for potting and arranging soil. A pruning saw cuts through thick cactus stems. For larger projects,
grab a hand trowel and garden spade. Quality matters! Your tools should last. Make sure they’re made of stainless steel or other durable materials.
Investing in high-quality tools can make gardening tasks easier and more effective. Consider features like comfortable grips and rust-resistant finishes. Remember to clean and store your tools properly to maintain their condition.
Handling With Care
Gloves and grippers are vital for cactus gardening. Protective gloves shield the hands from sharp spines. Grippers help to handle cacti safely.
To safely repot cacti, the right tools are necessary. Use a small trowel or scoop. Then, gently loosen the soil without harming roots. A spatula may help to remove the plant from its pot.
No need to use a table or bullet points as the provided information fits well into short paragraphs as per the guidelines.
Watering Without Worry
Watering cacti requires precision to ensure plant health. Using the right tools is vital.
To achieve precise irrigation, consider drip irrigation systems. They deliver exact water amounts directly to the roots.
Drip emitters adjust to each plant’s needs, preventing overwatering. Time them to water in early morning or late afternoon.
Moisture meters prevent excess watering by monitoring the soil. Only water when readings indicate the need.
Avoid using large watering cans or hoses. They make controlling the amount of water difficult.
Self-watering probes can be another option. They allow for slow and steady watering.

Credit: www.finegardening.com
Trimming And Pruning Tools
Caring for cacti requires precise tools. Pruning shears are a must. They keep your plants healthy. For small cacti, use scissors.
Gloves protect your hands. They are specially made to resist spines. Long-handled tongs are helpful, too. They can hold cacti while you cut.
Fertilizing The Right Way
Choosing suitable fertilizers for cactus gardening is essential. Organic options like fish emulsion, bone meal, and compost are excellent. These encourage healthy growth without harming the plant. Specialized cactus and succulent fertilizers are also available, with the right nutrient balance.
For application, liquid fertilizers work well. Use diluted solutions to prevent root burn. Granular fertilizers should be spread evenly over the soil. Ensure that none touches the plant directly. Slow-release pellets are another great option.
| Type | Usage |
|---|---|
| Liquid Fertilizer | Apply directly to the soil |
| Granular Fertilizer | Spread evenly and water in |
| Slow-release Pellets | Apply to the soil surface |
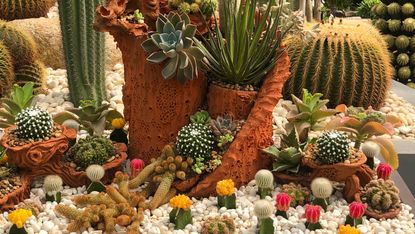
Decorative Touches
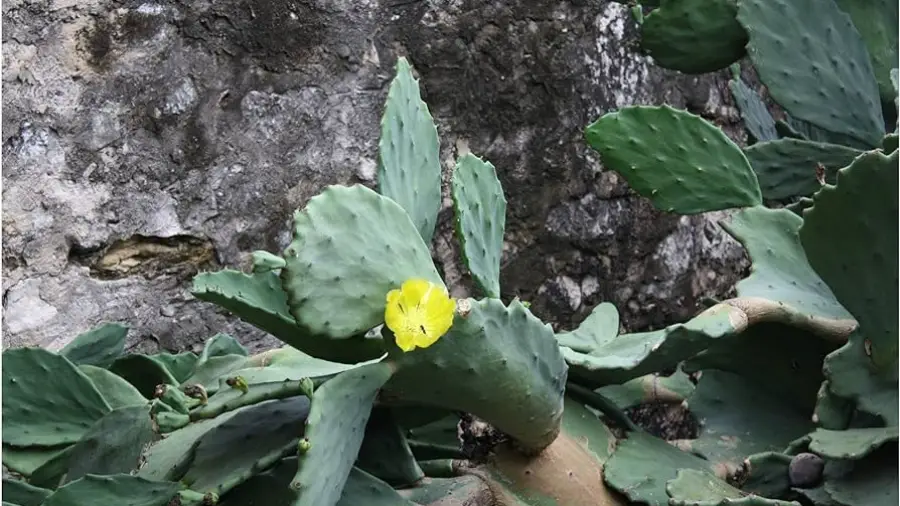
Top dressing with pebbles enhances cactus health and beauty. Small stones protect soil from evaporation and erosion. These layers mimic natural desert landscapes, offering aesthetic appeal and functional benefits.
Selecting decorative pots and planters adds style to your cactus garden. Find ones that provide proper drainage and suit your home’s decor. Mix and match colors and textures for a unique display.
Tool Maintenance
Maintaining your cactus gardening tools is essential for their performance and durability. To start, remove any dirt after each use. This prevents rust and keeps the tools sharp. For deeper cleaning, mix a solution of warm water and mild detergent. Dip a cloth in this mixture and gently scrub your tools. Once cleaned, dry them thoroughly to prevent moisture damage. Occasionally, apply a disinfectant spray to kill off any lingering bacteria which helps in preventing plant diseases.
For tools with moving parts, like pruners, apply a few drops of machine oil to the joints. This keeps them operating smoothly. Sharpening the blades of cutting tools annually will ensure precise cuts. This simple routine extends the life of your cactus gardening tools, saving money and preventing waste.
Cultivating Expertise
Discover new methods to care for cacti with quality online materials. Internet resources abound, offering detailed guides and expert advice. Online forums and social media groups connect cactus enthusiasts. They help new gardeners learn and veterans to share wisdom.
- Video tutorials simplify complex topics.
- Digital books delve deep into cactus care.
- Blogs offer tips tailored to all skill levels.
For hands-on learning, garden workshops and local plant societies welcome new members. Local nurseries may hold classes. Such gatherings foster community spirit and skill sharing.
Stay aware of events like plant swaps or garden shows. Local libraries can point you to relevant resources. Always seek reputable sources for information.

Credit: www.amazon.com
Frequently Asked Questions On Cactus Gardening Tools
What Tool Do You Use For Cactus?
For cactus care, use specialized tools like cactus pliers, soil knives, pruning saws, and tweezers. Choose tools that safely handle spiky plants and reach tight spaces.
What Is The Best Thing To Plant A Cactus In?
The best medium to plant a cactus in is fast-draining cactus mix soil, ideally in a terracotta or ceramic pot for breathability.
What Do You Use To Pick Up Cactus?
To pick up a cactus, use thick gloves and tongs specifically designed for handling cacti.
Should I Put Pebbles Around My Cactus?
Yes, placing pebbles around your cactus can aid drainage and mimic its natural habitat.
Conclusion
Harness the right tools, and cactus gardening becomes a joy. With specialized pliers, pruning saws, and soil knives, your spiky green friends thrive. Remember, proper equipment means healthy plants and safer hands. So, gear up, get gardening, and watch your desert oasis blossom!
(To learn about How to Get Cactus Green Seeds: https://bonsainurserybd.com/how-to-get-cactus-green-seeds-for-gardening/


:max_bytes(150000):strip_icc()/CoolJob-Skydeer-FloralSociety-StoneBreaker-GroupPhoto-Caitlin-Sole-01-1-448f154f95e54ea6a7dec1ef0da77d84.jpg)


:max_bytes(150000):strip_icc()/GettyImages-1161142427-2000-92a0fdc9a9104a808d0aaad22cb756fe.jpg)


:max_bytes(150000):strip_icc()/balcony-filled-with-large-variety-of-potted-herbs-and-flowers-1257320040-0c3a7ffcad284b4da79aec32d6baf3f3.jpg)