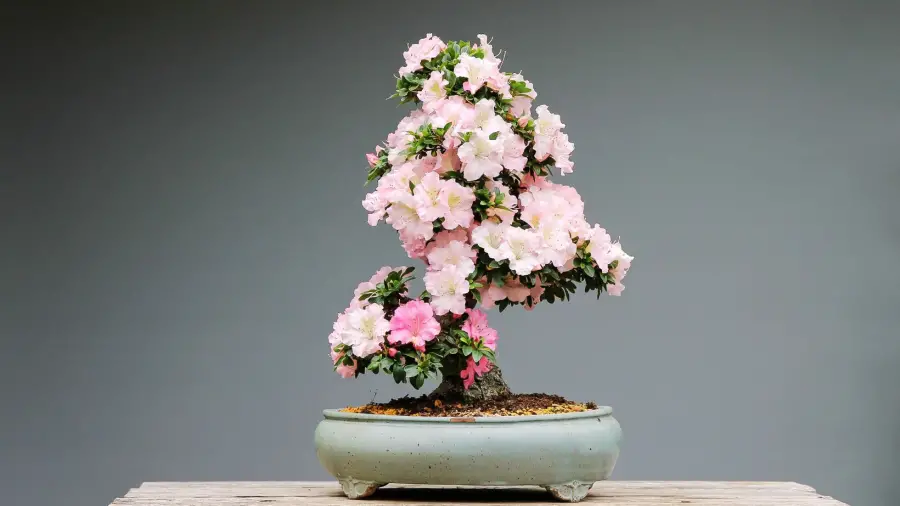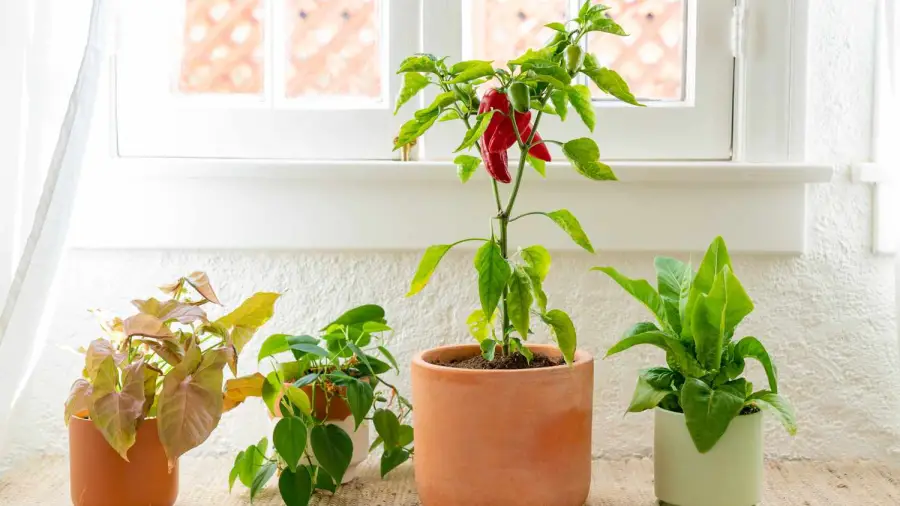
Tomatoes, peppers, lettuce, and strawberries rank as top choices for container gardening. Herbs like basil and chives also thrive in pots with limited space.
Container gardening is an incredibly versatile and convenient way to grow fresh produce, especially in urban settings or where garden space is limited. The simplicity of maintaining a container garden makes it a popular choice for both beginners and experienced gardeners alike.
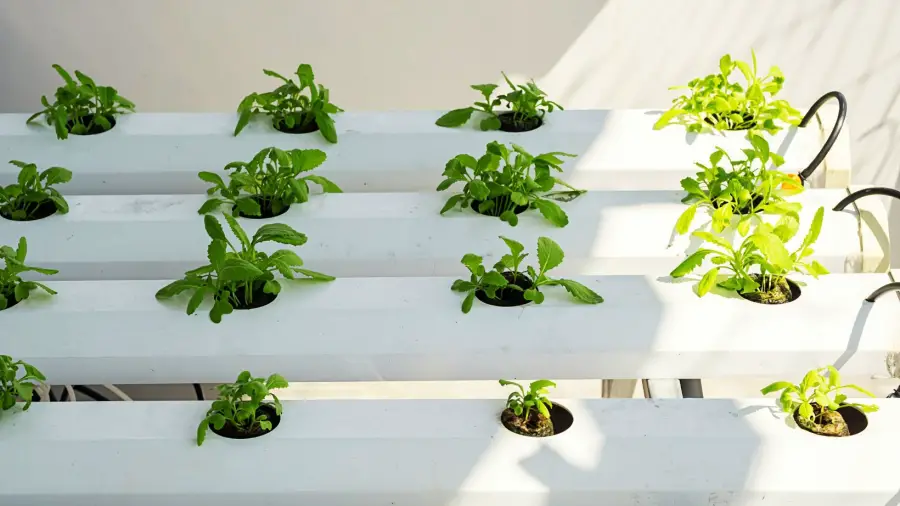
Fruits And Vegetables for Container Gardening: It allows for control over soil quality and reduces the risk of soil-borne diseases. With the right container, proper care, and adequate sunlight, gardeners can cultivate a bountiful harvest on patios, balconies, or windowsills. Choose vegetables with smaller root systems and fruits that can be easily supported or trellised for the best success in limited spaces.
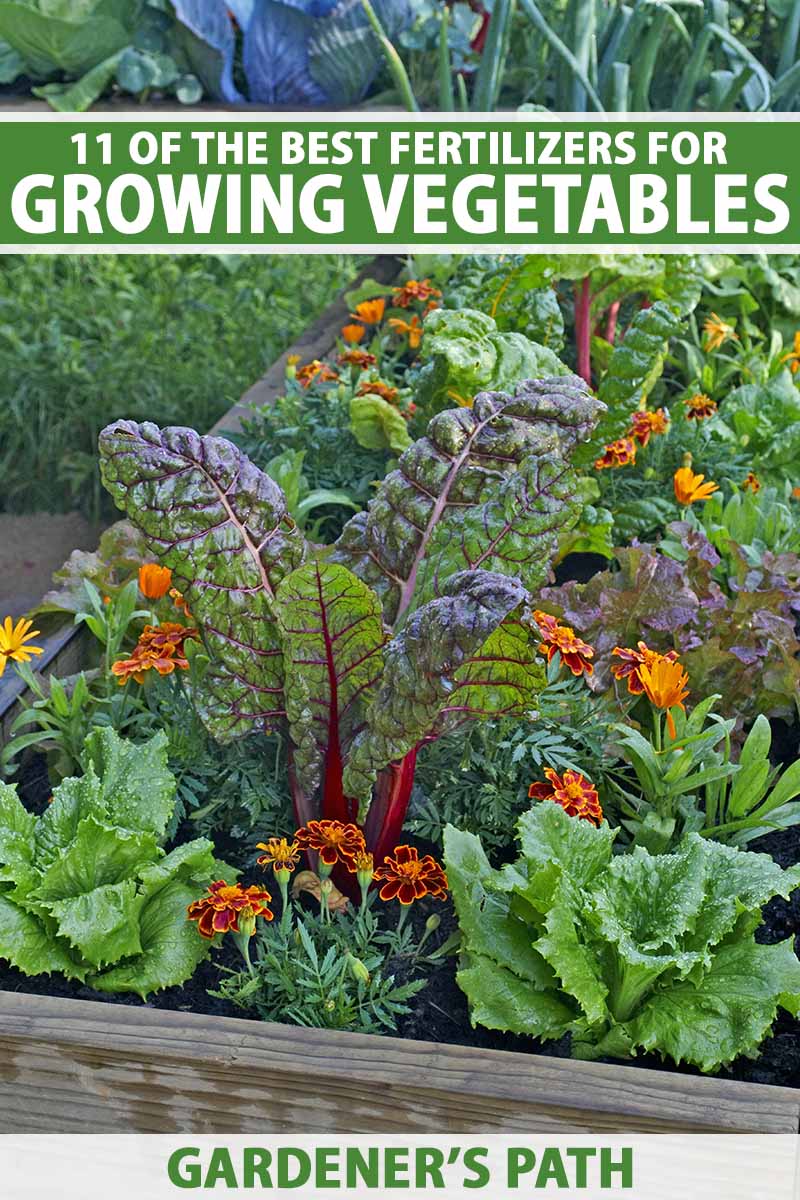
Credit: http://gardenerspath.com
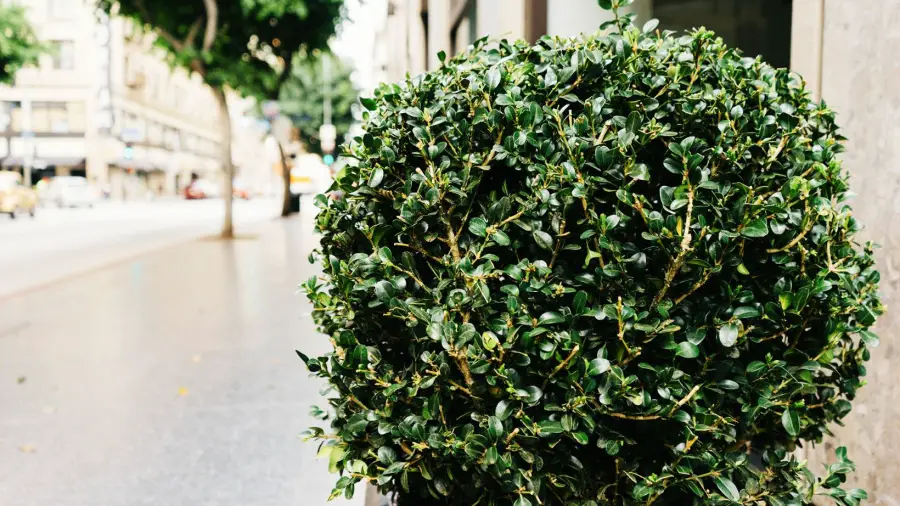
Introduction To Container Gardening
The concept of container gardening has taken urban and small-space living to vibrant new heights. This practice allows garden enthusiasts to cultivate a variety of fruits and vegetables regardless of limited ground space. A practice esteemed for its versatility and accessibility, container gardening offers the pleasure of homegrown freshness even in the most compact of spaces.
Understanding The Basics Of Container Gardening
Container gardening involves growing plants, including edible varieties, in pots or containers instead of traditional garden beds. Selection of appropriate containers, soil composition, and plant choices are the bedrock of this gardening method. It offers a unique approach to managing space, soil, and environment for a variety of plant species.
Advantages Of Growing Fruits And Vegetables In Containers
- Space Efficiency: Perfect for balconies, patios, or rooftops.
- Control Over Environment: Ability to move plants to optimize light exposure and temperature.
- Reduced Pest Problems: Elevated and isolated settings can deter pests and diseases.
- Accessibility: Ideal for individuals with mobility issues, as it reduces the need for bending or stooping.
- Customized Soil Mix: Provides plants with the ideal soil composition without the constraints of the native ground soil.
General Tips For Successful Container Gardening
- Choose the right containers that provide adequate space for root growth and have proper drainage holes.
- Utilize high-quality potting mix specifically formulated for container plants.
- Ensure plants receive the appropriate amount of sunlight based on their specific needs.
- Regularly water your plants, as containers can dry out faster than in-ground gardens.
- Fertilize periodically to replenish nutrients that are frequently washed out due to frequent watering.
- Be mindful of plant compatibility when pairing species in the same containers.
“`
Top Picks For Container-grown Vegetables
Container gardening opens up a world of opportunity for those lacking traditional garden space. It’s an ideal way to cultivate fresh produce on balconies, patios, or even sunny windowsills. With the right selection of plants, you can enjoy an abundant harvest. Let’s explore some of the best vegetables that thrive in containers.
Tomatoes: Versatile And Flavorful
Tomatoes are a favorite for many gardeners and are perfectly suited to container gardening. Varieties range from cherry tomatoes to full-sized heirlooms. When grown in pots, tomatoes require staking or cages for support, but the payoff is a generous supply of delicious fruits. Choose self-pollinating varieties to ensure a good yield, even without bees.
Leafy Greens: Spinach, Kale, And Lettuce Varieties
Leafy greens like spinach, kale, and lettuce are excellent for containers due to their shallow roots and compact growth. These plants prefer cooler temperatures, making them perfect for spring and fall gardening. An array of types and flavors can easily be harvested on a cut-and-come-again basis, providing a steady supply throughout the season.
Root Vegetables: Carrots, Radishes, And Potatoes
Many root vegetables adapt well to containers, especially when selected for short or spherical root growth. Carrots and radishes can be grown in deep pots with loose, well-draining soil. Potatoes can be cultivated using the “layering” method, which involves adding more soil as the plants grow, yielding a substantial harvest within a compact space.
Cucurbits: Squash, Cucumbers, And Zucchini
Despite their sprawling nature, cucurbits like squash, cucumbers, and zucchini can succeed in containers. Choosing bush or dwarf varieties is essential, and providing a trellis can minimize the space required. These vigorous growers offer an impressive bounty as long as they receive ample sunlight and consistent watering.
Legumes: Peas And Beans For Vertical Growing
Legumes such as peas and beans are perfect for vertical container gardening. They can climb up supports, saving valuable horizontal space. Dwarf or bush varieties are an excellent choice for container environments, and they fix nitrogen in the soil, improving the health of your container garden.
Alliums: Onions, Garlic, And Chives
Alliums like onions, garlic, and chives are well-suited to container gardening due to their compact root systems. These flavorful additions to your garden are also relatively low-maintenance, needing modest watering and full sun. Doubly productive, they offer both flavorful bulbs and edible foliage.
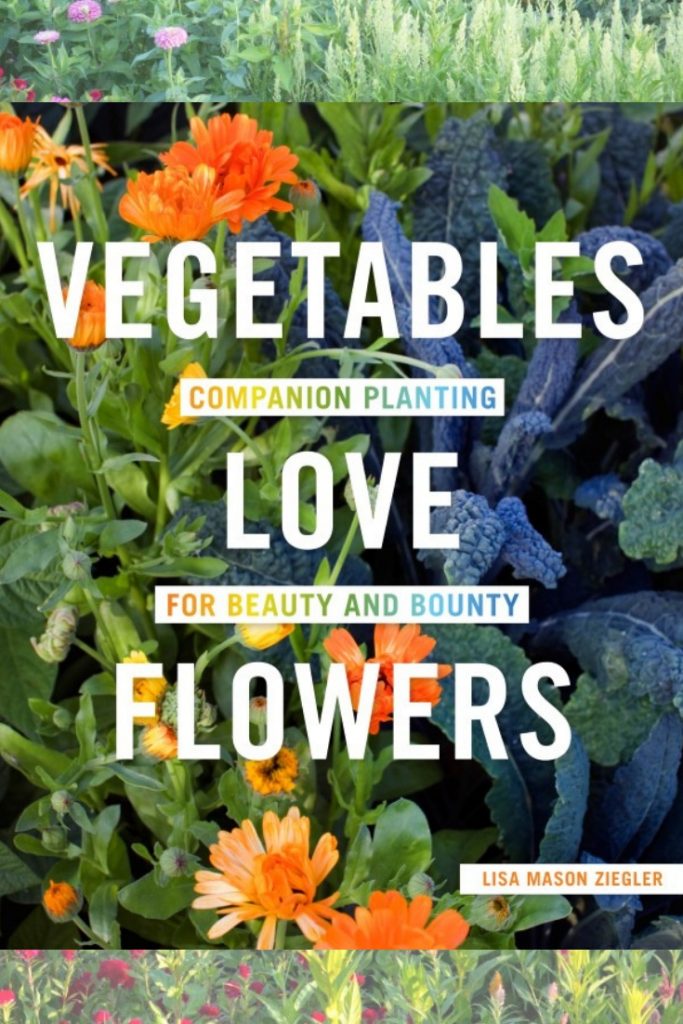
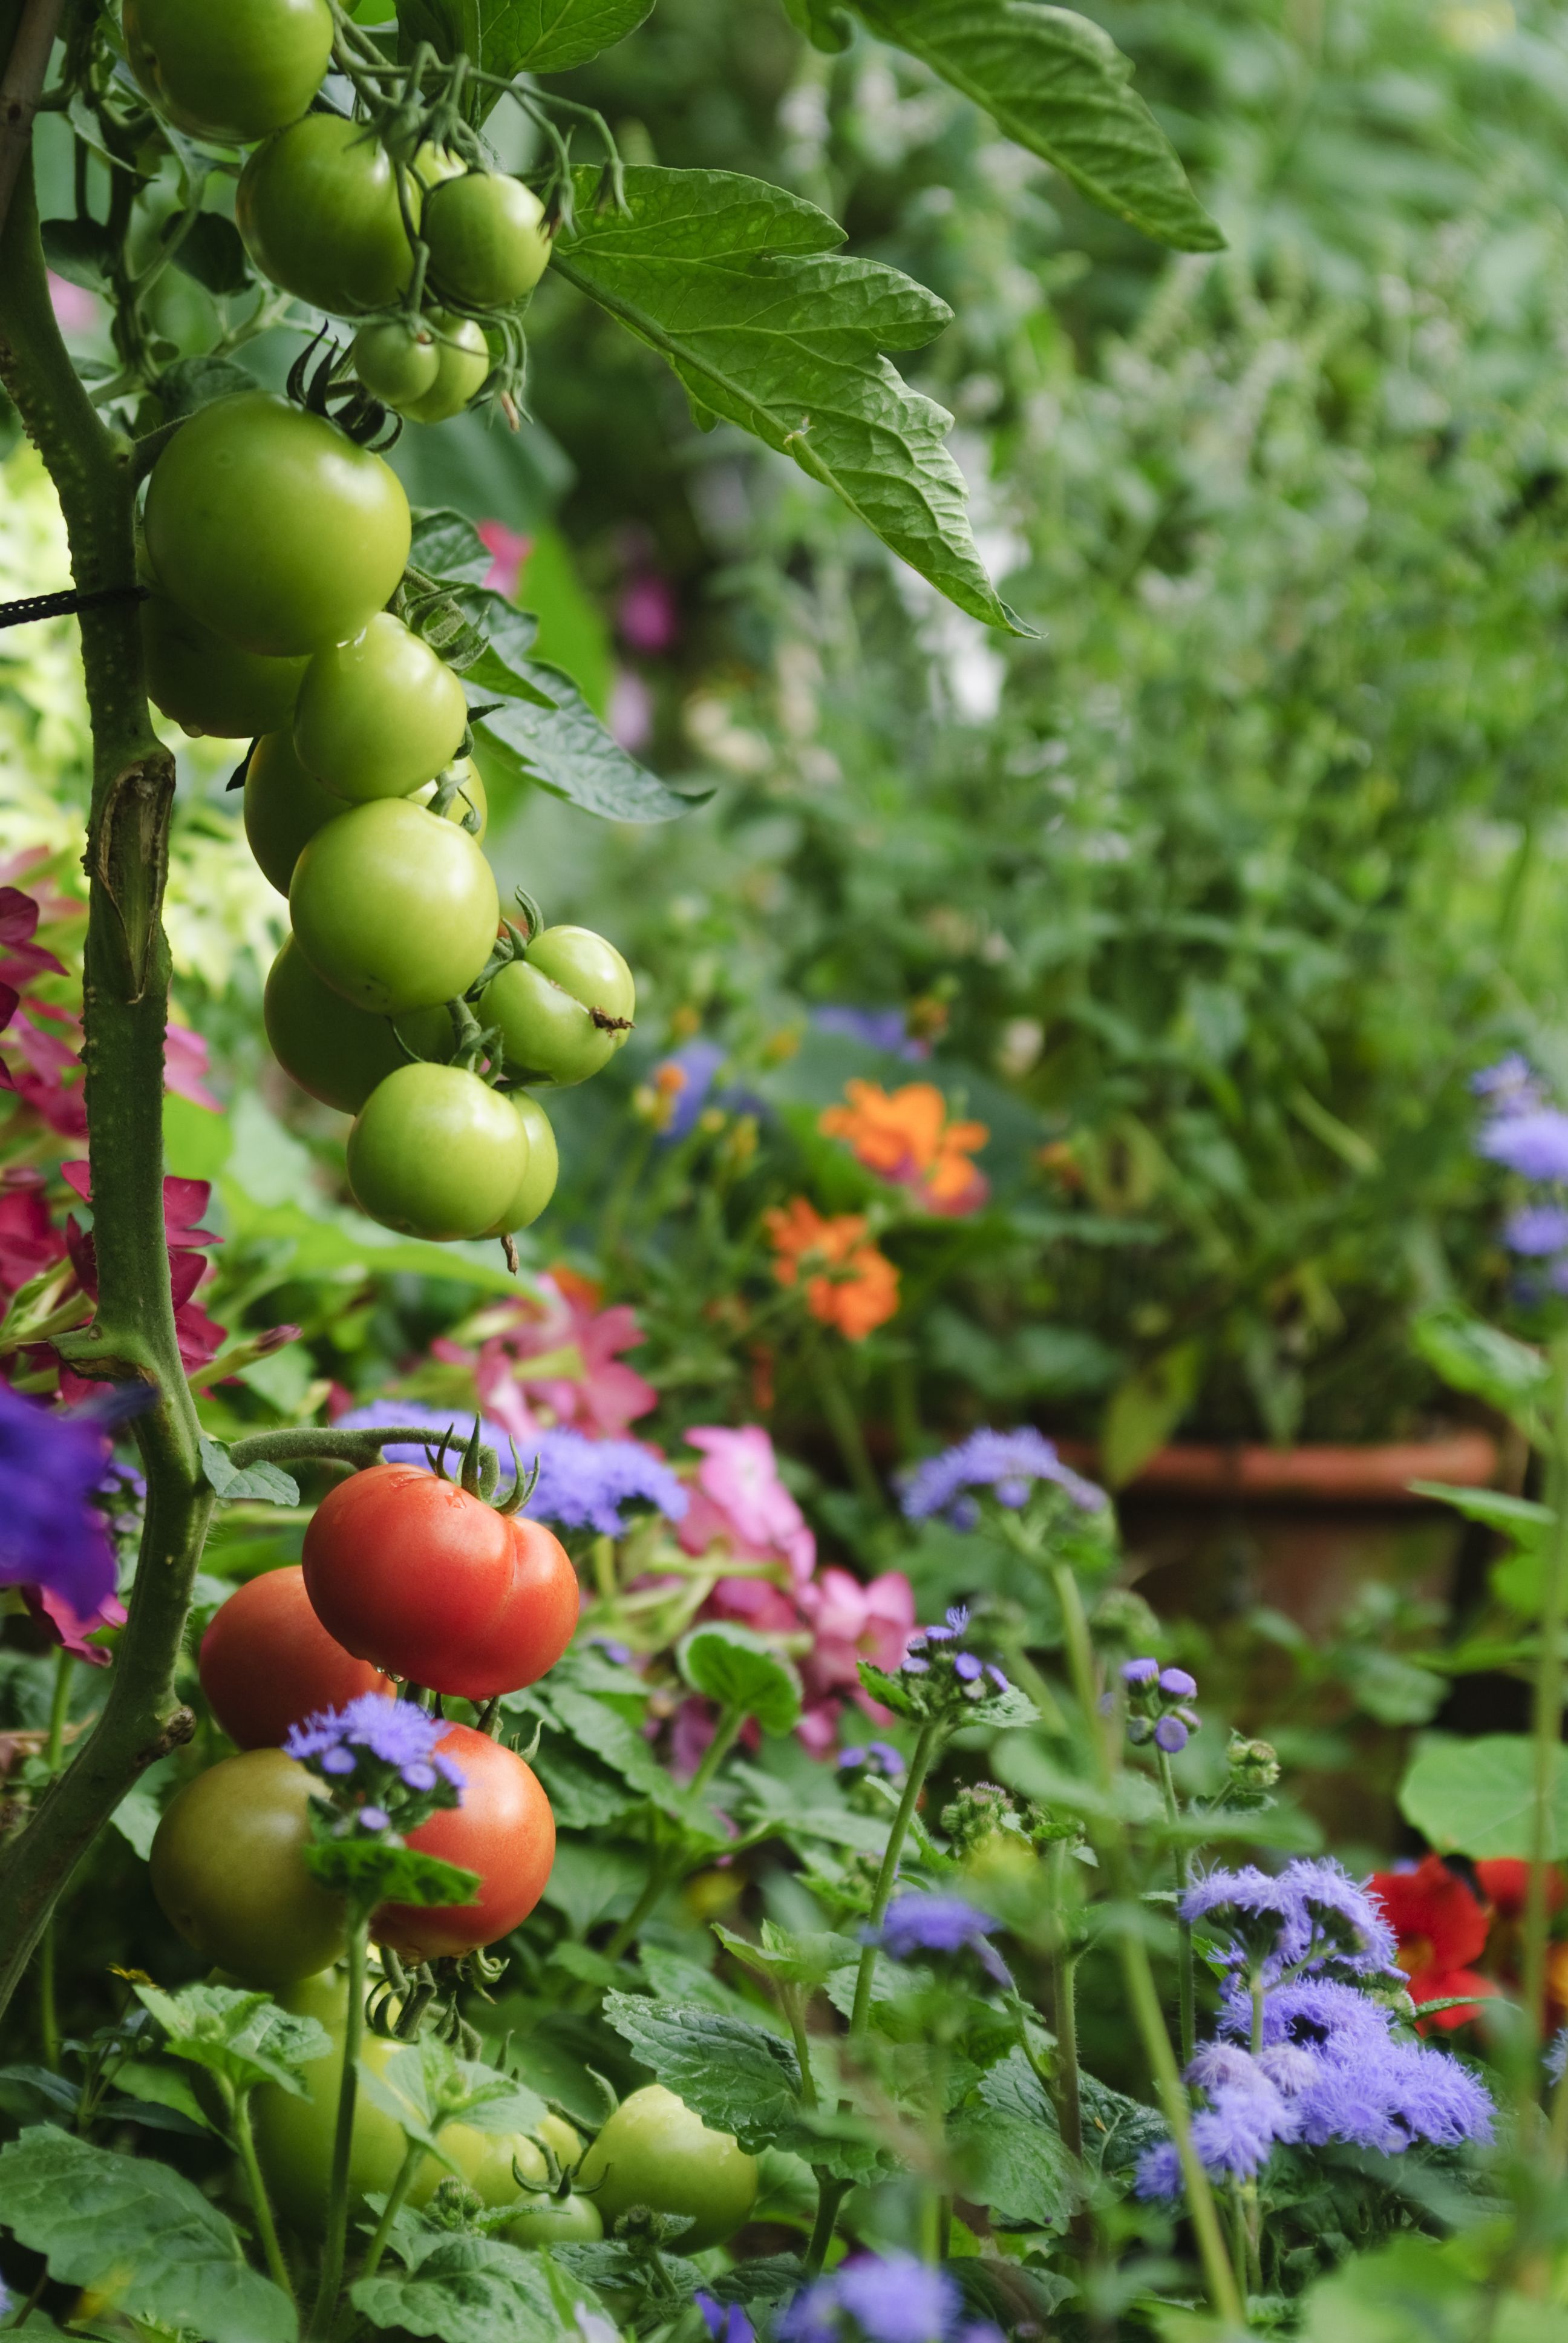
Companion Planting In Containers: Maximizing Space And Compatibility
Companion planting involves grouping plants together that can benefit each other when grown in close proximity. This practice can lead to better growth, reduced pests, and maximized use of space. For instance, planting basil near tomatoes can help repel pests, while combining leafy greens with root vegetables can promote fuller use of available space and sunlight.
| Main Crop | Companion Plant | Benefits |
|---|---|---|
| Tomatoes | Basil, Marigolds | Repels pests; enhances flavor |
| Cucumbers | Nasturtiums, Peas | Pest control; soil nitrogen boost |
| Leafy Greens | Chives, Radishes | Pest deterrent; space maximization |
Favorite Fruits For Container Gardening
Transform your urban living space into a bountiful oasis with container gardening. Even the smallest patios and balconies can become a haven for fresh, juicy fruits ready to be plucked right outside your door. Container gardening offers an accessible path to homegrown sweetness and vibrant flavors, and certain fruits thrive in this compact environment. Let’s discover some of the favorite fruits you can cultivate in pots and planters.
Berries Galore: Strawberries, Blueberries, And Raspberries
Berries not only burst with flavor, but they also adapt well to container living. Strawberries are a popular choice, with varieties designed for hanging baskets that cascade with ripe, red fruit. Blueberries require a bit more attention to soil acidity but reward growers with sweet, summer berries. Meanwhile, raspberries can be grown in larger pots with support for their canes. Here’s how to get started:
- Strawberries: Opt for June-bearing or everbearing varieties depending on your desired harvest time.
- Blueberries: Ensure a mix of peat and pine bark in the soil for a pH between 4.5 and 5.5.
- Raspberries: Choose a spacious pot and a sunny spot; don’t forget a stake or trellis for support.
Citrus Delights: Lemons, Limes, And Oranges
Enjoy the zest of citrus trees right from your balcony! Dwarf varieties of lemons, limes, and oranges are perfectly suited for container gardening. They offer not just fruit but also a delightful, fresh aroma and an ornamental touch to your outdoor space.
- Lemons: ‘Meyer’ and ‘Eureka’ varieties adapt well to pots.
- Limes: ‘Key lime’ and ‘Persian lime’ trees stay compact, ideal for containers.
- Oranges: Dwarf varieties such as ‘Calamondin’ or ‘Dwarf Washington’ are excellent selections.
Exotic Tastes: Figs, Pineapple, And Dwarf Apple Trees
Elevate your container garden with exotic fruit trees. Figs are well-suited for warmer climates and can produce delectable fruits yearly. Pineapple plants create a tropical ambiance and can flourish indoors or out. And, believe it or not, dwarf apple trees can be grown in tubs, providing beautiful blossoms followed by full-sized apples.
- Figs: Varieties like ‘Brown Turkey’ or ‘Celeste’ perform well in pots.
- Pineapple: Start with a top cutting and enjoy its ornate presence and eventual fruit.
- Apple Trees: Look for rootstocks labeled as dwarfing, perfect for containers.
Herbs As Fruitful Companions: Basil, Chives, And More
Herbs make companion planting in container gardens a breeze. They can enhance fruit growth and fend off pests. Basil, with its vigourous aroma, is a great neighbor to tomatoes and peppers, while chives can deter insects and enhance the flavor of salads. They require minimal space, making them perfect for pairing with your fruit plants.
- Basil: Plant alongside tomato containers for a beneficial partnership and convenient, flavorful harvests.
- Chives: Easy to grow and manage, they pair well with almost all fruits and vegetables.
- Mint: Beware it can take over pots, so keep it separate to avoid a mint monopoly.
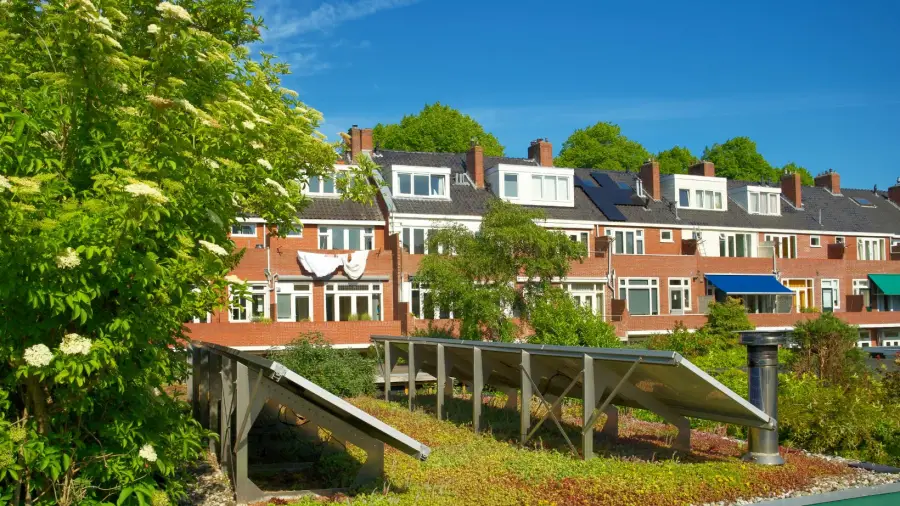
Maintenance And Care For Container Fruit Plants
While container gardening has its conveniences, it also demands special care. Fruits in pots rely on you for nourishment and hydration. Regular feeding with balanced fertilizers ensures plants have the energy to produce luscious fruits. Watering needs are critical; pots dry out faster than garden soil, so consistent monitoring is key. Also, make sure that containers have adequate drainage to prevent root rot. Sunlight is a fruit’s best friend, so position your containers where they’ll receive plenty of it.
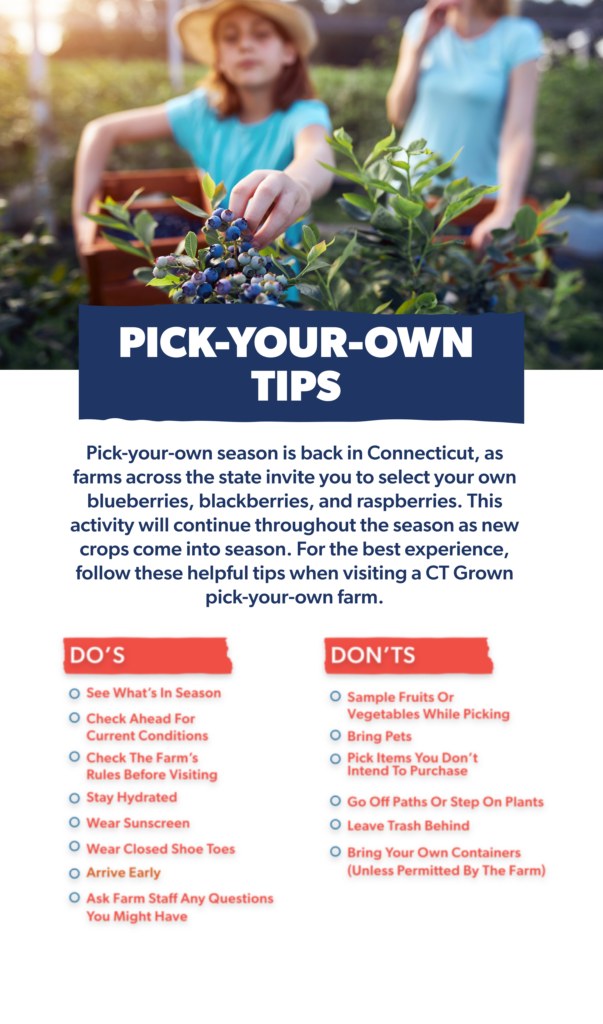
Credit: http://ctgrown.org
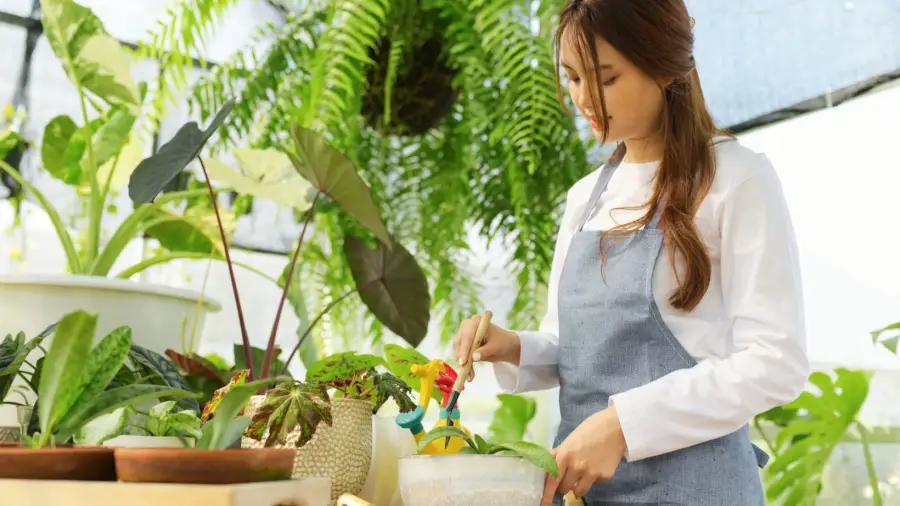
Container Gardening Practical Tips
Container Gardening Practical Tips unlock the joy of homegrown produce even in the smallest of spaces. Whether you have a balcony, rooftop, or patio, container gardening allows for ample flexibility and creativity. Implement these expert tips to cultivate a thriving container garden filled with lush fruits and vegetables, irrespective of your outdoor space.
Choosing The Right Containers For Different Plants
Container selection is the cornerstone of successful container gardening. Opt for containers that complement the root size of the plants you intend to grow:
- Shallow-rooted plants like lettuce and herbs thrive in containers with a depth of 6-12 inches.
- Medium-rooted plants such as peppers and strawberries need 12-18 inches of depth.
- Deep-rooted plants like tomatoes and carrots require containers that are deeper than 18 inches.
Ensure all containers have adequate drainage holes to prevent waterlogging.
Soil Mix And Fertilization For Optimum Growth
Choosing the right soil mix and providing regular fertilization are pivotal for optimum plant growth in containers. Use a lightweight, nutrient-rich potting mix designed for container gardening. This medium should offer excellent drainage and aeration.
Fertilize your container plants with a balanced, all-purpose fertilizer, following the recommended dosage on the product label. Over-fertilization can be as detrimental as under-fertilization.
Watering Techniques And Managing Sunlight Exposure
Accurate watering and sunlight exposure are vital for the prosperity of container plants:
- Water your plants when the top inch of soil feels dry. Use a drip tray to avoid overwatering.
- Containers may dry out faster; hence, regular monitoring is essential.
- Most vegetables require 6-8 hours of direct sunlight daily. Position the containers accordingly and consider moving them if needed to ensure adequate light exposure.
Pruning And Harvesting Best Practices For Container Plants
Pruning encourages healthy growth and increases yields. Remove dead or diseased foliage promptly. When harvesting, use a clean cut to avoid damaging the plant. Regular harvesting often stimulates further production for many plants.
Pest Control And Disease Prevention In Small-scale Gardens
Container gardens can also fall prey to pests and diseases, albeit on a smaller scale. Implement the following for pest control and disease prevention:
- Inspect regularly for signs of pests and diseases.
- Practice preventive measures like crop rotation, even in containers, to avoid disease build-up.
- Use organic pesticides and fungicides when intervention is necessary, adhering to the recommended application guidelines.

Credit: http://gardenerspath.com
Frequently Asked Questions On Best Fruits And Vegetables For Container Gardening
What Fruits And Vegetables Grow Well In Containers?
Tomatoes, peppers, lettuce, carrots, and strawberries thrive in container gardens with suitable pot sizes and care.
What Are The Top 10 Vegetables Grown In Containers?
The top 10 vegetables for container gardening are tomatoes, peppers, lettuce, carrots, radishes, spinach, peas, green beans, kale, and eggplant.
What Are The Easiest Fruits And Vegetables To Grow?
Some of the easiest fruits and vegetables to grow include tomatoes, radishes, lettuce, beans, peas, strawberries, and bell peppers.
What Vegetables Can I Plant In The Same Container?
Combine lettuce, radishes, and herbs or tomatoes, basil, and onions in the same container for successful growth.
Conclusion
Container gardening unlocks a world of lush bounty, even in the smallest of spaces. Embrace the versatility of strawberries, peppers, and tomatoes. Revel in the ease of spinach, lettuce, and herbs. These picks assure a fresh, vibrant harvest. Step into the world of container growing and taste the fruits of your labor!
(To learn more about Vegetables and Flowers Gardening: https://bonsainurserybd.com/companion-gardening-flowers-and-vegetables/ )


:strip_icc()/purple-reigns-floral-vegetable-planter-D7q-J2Q145e92dy5xUEyfj-12f1e3f1ac5f42ebae0d5d996de5d914.jpg)